

I decided to go with a back to school DIY and yes I know, I've been posting oh so randomly! Because I love to blog I've broken the rule by posting almost every other day! ^_^
Anyway, this DIY should help you jazz up your boring school notebooks or any book for a matter of fact!
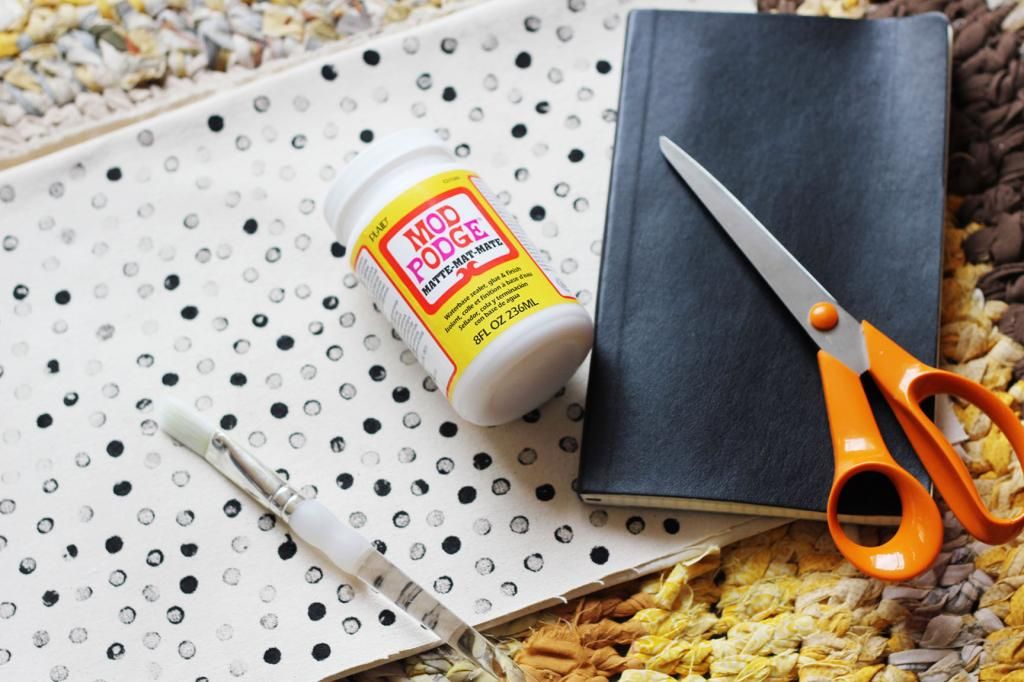
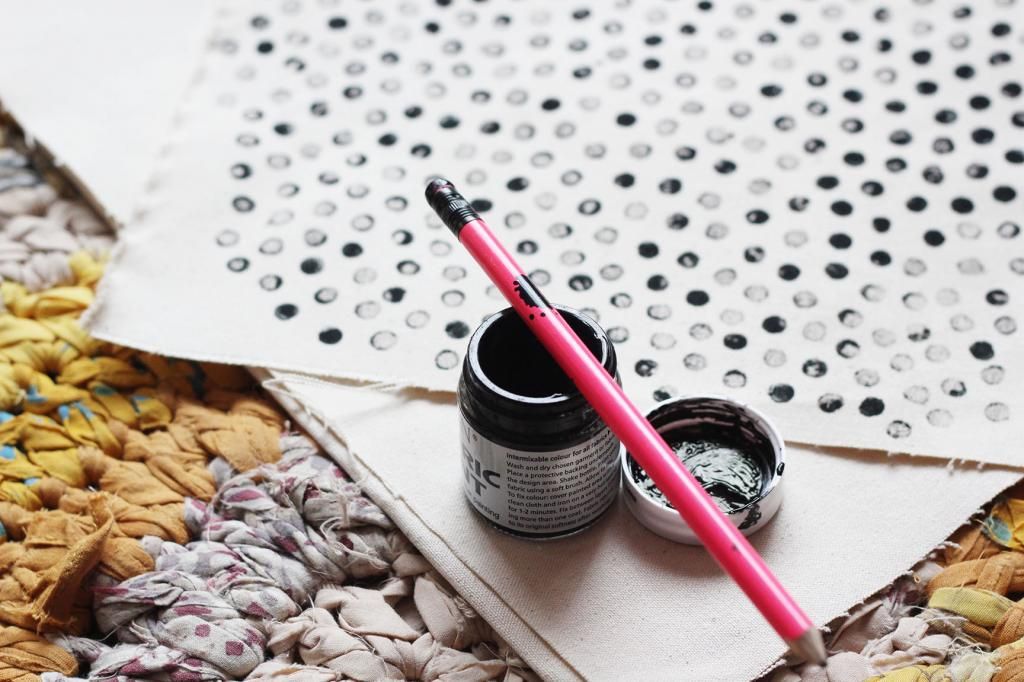
You will need: A Fabric, A pencil with an eraser end, Fabric Paint, Notebook, Fevicol/ModPodge/Hot Glue Gun, Paint Brush, Scissors, Jump Clips.

This a simple and easy DIY to do to make your notebooks look and feel a little out of the ordinary. Hand stamping is fun way to make a pattern on fabric and takes very little time.
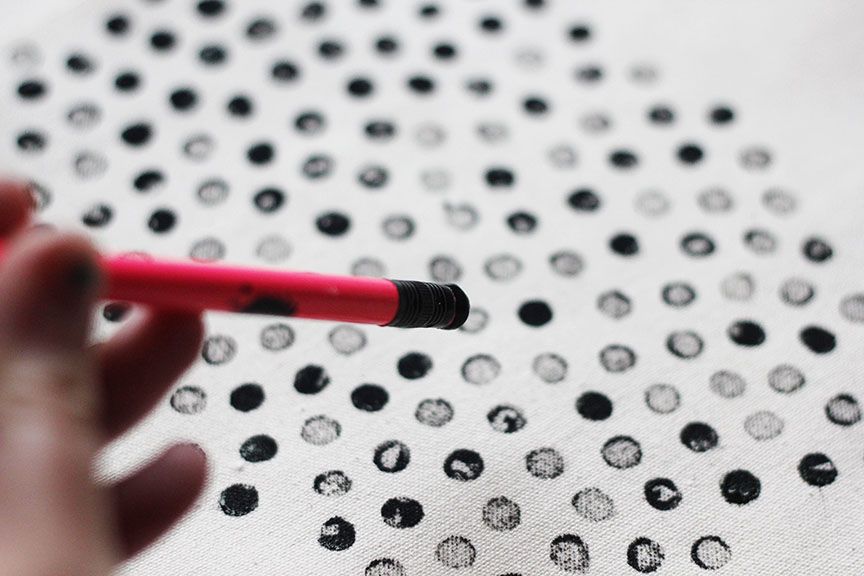
Now, you want to measure up the amount of fabric you would need to cover your notebook. Make sure to take a little more fabric than what is exactly needed and use your scissors to cut the needed length. Place your fabric up right on a flat surface. Dip the eraser end of your pencil into the fabric paint you want to use. Here, be creative and use any color you want. You can make it an ombre pattern or a multi colored pattern but for that you will need more pencils with eraser ends. Stamp the fabric till you are satisfied with the result. It need not be perfect, the beauty of it is the imperfection. So, don't worry about it.
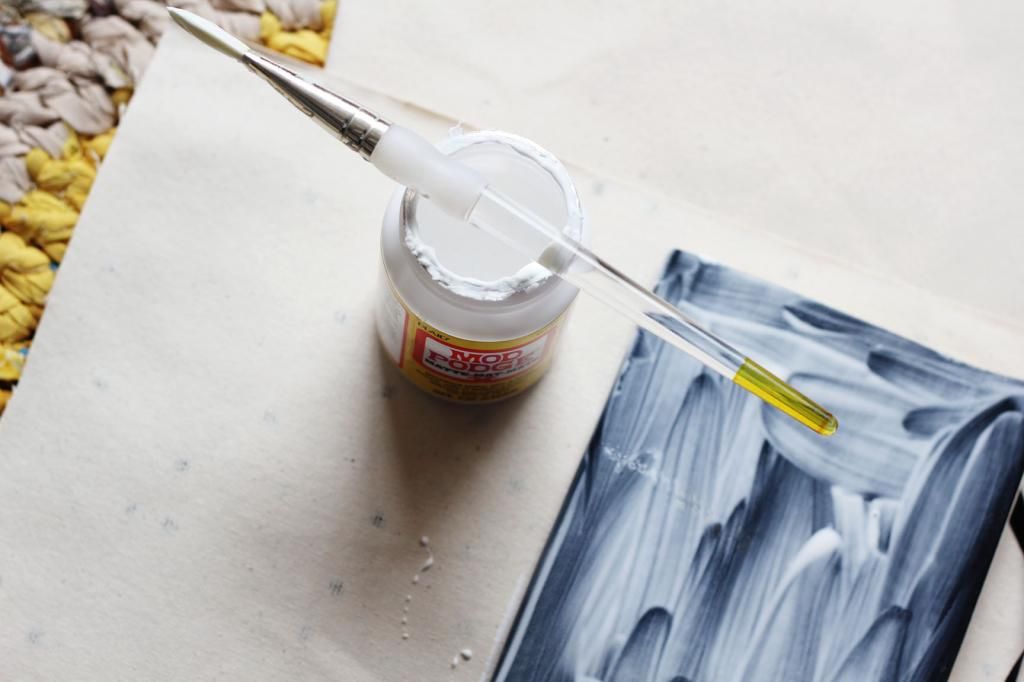
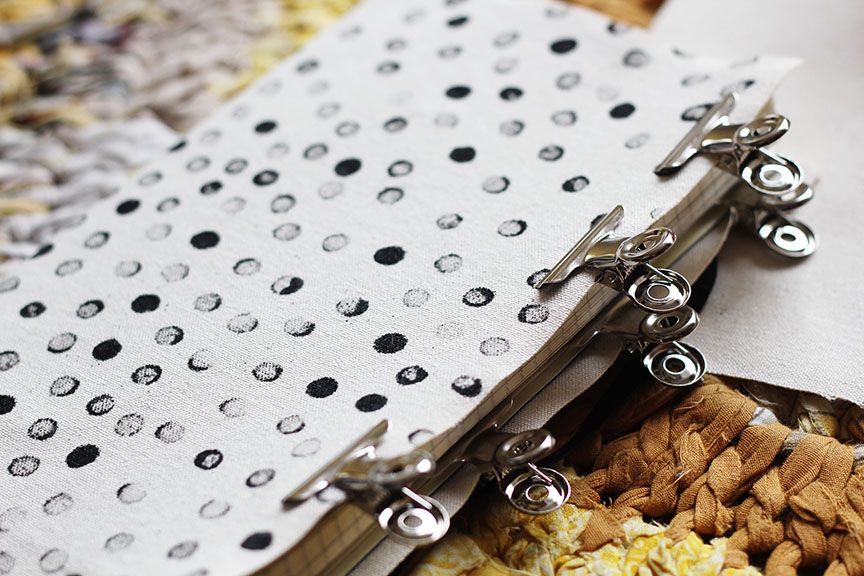
Let the fabric dry. Meanwhile, apply a generous amount of modpodge/fevicol or use your hot glue gun, if you can work with it and carefully use the fabric to cover up the notebook.
Once you have covered the notebook, use the jump clips to hold the fabric in place and leave it undisturbed for a few hours. After it dries, all you need to do is fold the excess fabric into the notebook and glue it in or you can carefully cut the excess fabric using scissors to the exact shape of your notebook.
Now you have a hand stamped notebook that looks just as fashionable and elegant as you!
Get creative and experiment with colors!
Hope you guys enjoyed the DIY! Keep Crafting, Stay Glam & Flash that Million Dollar Smile! ^_^

No comments:
Post a Comment